

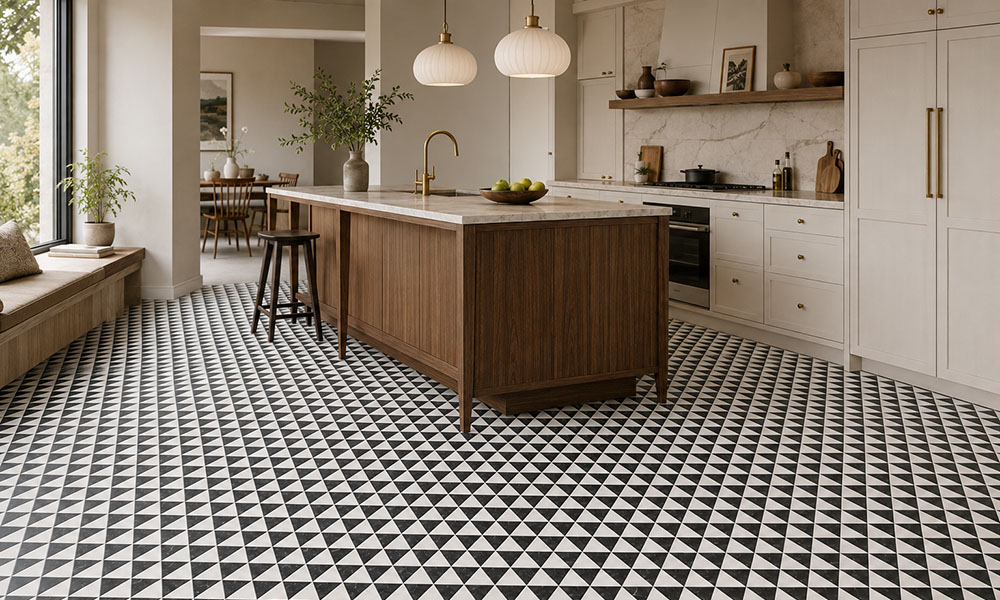
Black and White Triangle Checkerboard Tile Kitchen Floor
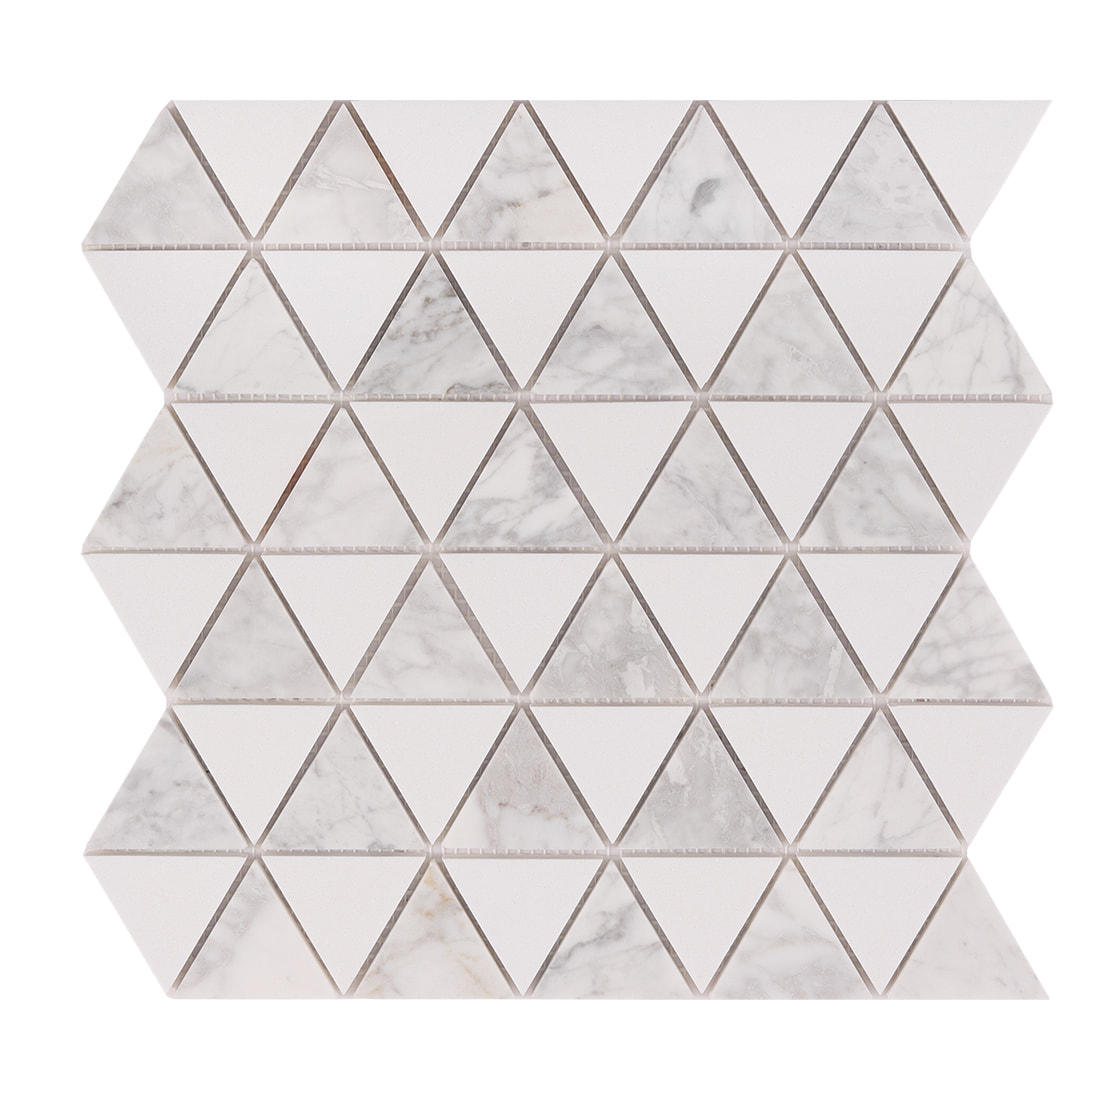
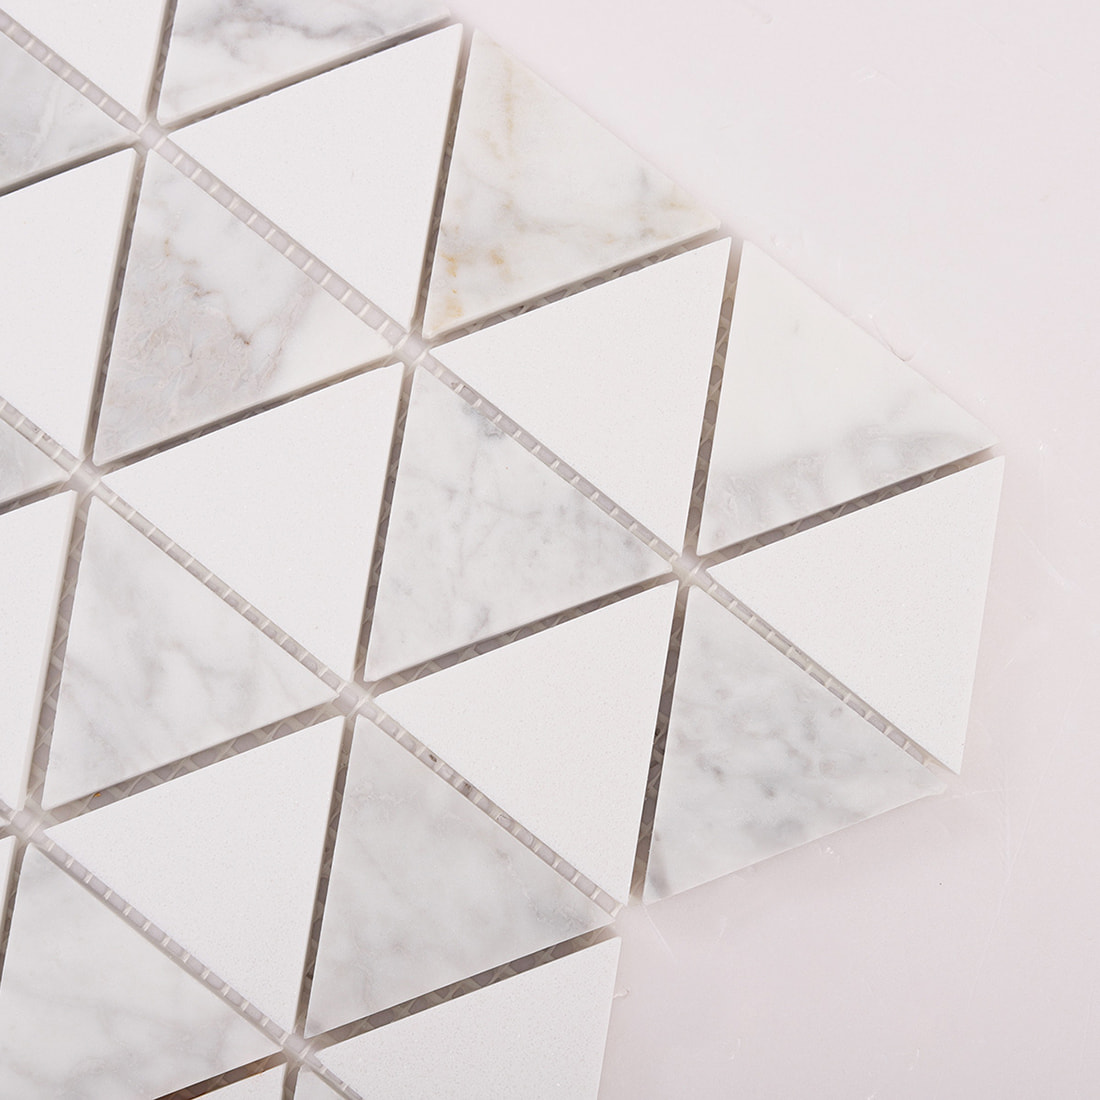
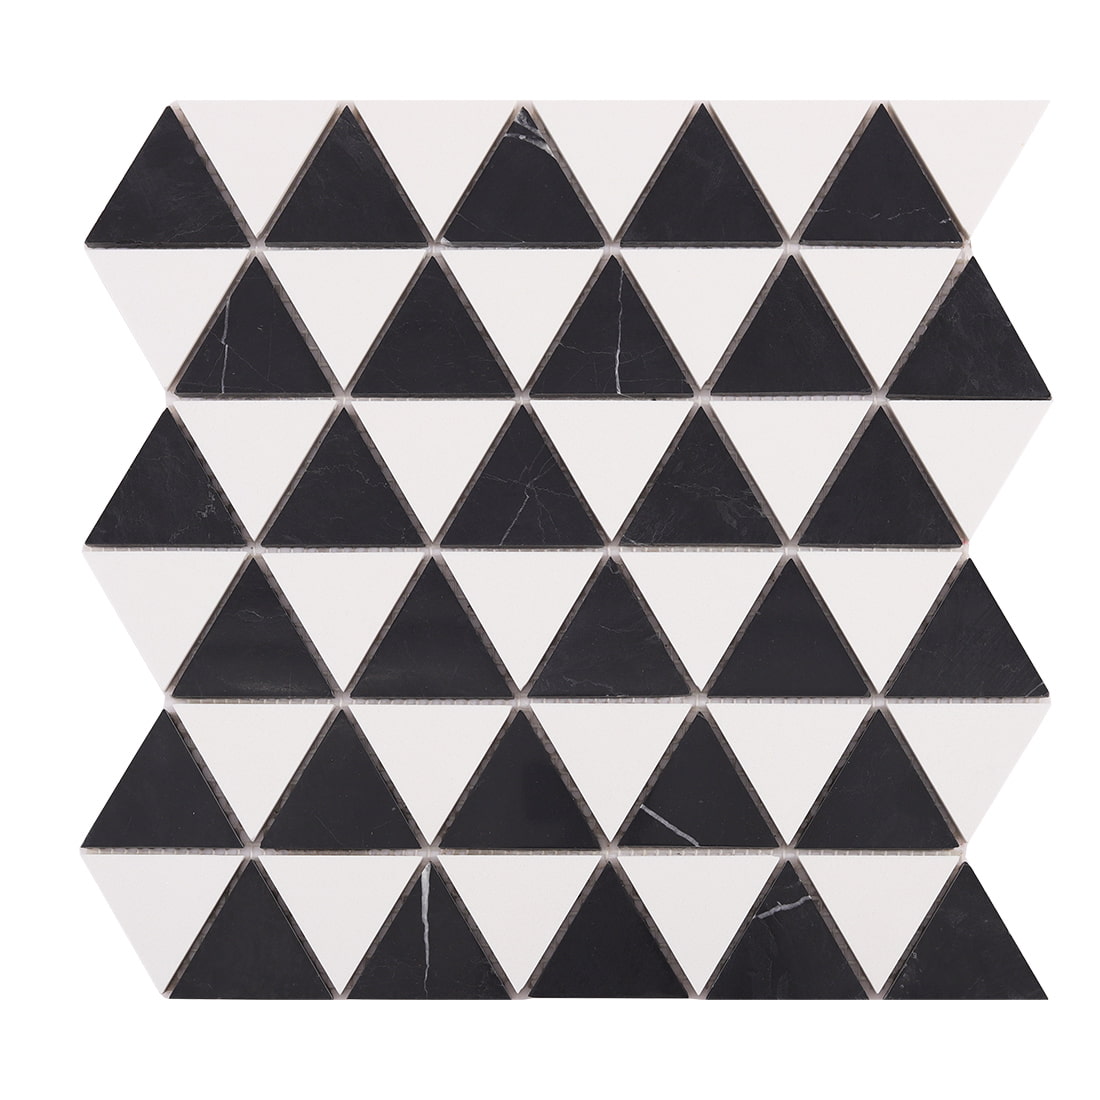
Checkerboard Tile Kitchen Floor
Checkerboard tile kitchen floor designs bring timeless geometry, practical performance, and unmistakable character to the busiest room in the home. At Woos Tiles, our collection moves beyond conventional black and white squares with natural stone, floor-rated glass mosaic, soft neutral pairings, earthy colors, rectangular formats, and artistic triangular patterns.
Whether you are creating a vintage-inspired kitchen, a modern black and white interior, or a warm space with wood cabinets, checkerboard kitchen floor tiles provide a structured foundation without limiting the rest of the design. Explore the collection, compare samples in your own lighting, and find a pattern suited to your kitchen’s size, traffic, and style.
Browse checkerboard kitchen floor tiles or request samples from Woos Tiles before finalizing your project.
Why Choose a Checkerboard Tile Kitchen Floor?
Checkerboard flooring has remained relevant because it combines a simple repeating pattern with almost unlimited possibilities for color, scale, and material.
-
Timeless visual structure: Alternating tiles create a balanced grid that works in traditional, transitional, farmhouse, Art Deco, mid-century, and contemporary kitchens.
-
A strong focal point: The pattern gives plain cabinets and solid countertops more character without requiring highly decorative furniture or wall finishes.
-
Flexible contrast: Classic black and white creates drama, while beige, cream, gray, taupe, green, brown, and terracotta combinations produce a softer effect.
-
Useful for different room proportions: A straight grid emphasizes order, while a diagonal layout introduces movement and can make a compact or narrow kitchen feel more open.
-
Suitable for busy interiors: When the tile is correctly rated for flooring and professionally installed, natural stone and selected glass mosaics can handle normal kitchen traffic, spills, and regular cleaning.
-
Easy to coordinate: Checkerboard floors can complement painted cabinets, natural wood, stainless steel appliances, marble countertops, and simple kitchen backsplashes.
The pattern may make small crumbs or minor wear less visually obvious than a completely plain floor, but spills should still be cleaned promptly—especially on natural stone.
Natural Stone and Glass Mosaic Checkerboard Tiles
Woos Tiles focuses on two distinctive material groups for checkerboard kitchen floors: natural stone and floor-rated glass mosaic. Each creates a different atmosphere and requires different planning.
| Feature | Natural Stone | Floor-Rated Glass Mosaic |
|---|---|---|
| Appearance | Organic veining and natural variation | Clear color, depth and reflective detail |
| Best For | Refined, classic and luxury kitchens | Artistic, retro and design-led kitchens |
| Typical Scale | Individual tiles or stone mosaics | Small chips mounted in repeating sheets |
| Finish Options | Honed, tumbled or polished depending on product | Matte, textured or smooth depending on product |
| Water Absorption | Varies by stone | Glass itself has very low absorption |
| Maintenance | May require sealing and stone-safe cleaners | Usually simple to clean; grout still needs care |
| Important Check | Porosity, finish, thickness and floor suitability | Confirm the exact product is approved for floors |
| Natural Variation | Expected and desirable | Usually more consistent, with variation by collection |
Natural Stone Checkerboard Kitchen Tiles
Natural stone gives a checkerboard floor depth that printed surfaces cannot fully reproduce. Veining, mineral markings, and tonal movement make every installation unique. Even a traditional black and white combination becomes softer and more organic when each tile carries its own natural variation.
Honed stone is often a practical choice for kitchens because it creates a low-sheen, refined surface. Tumbled edges add an aged European or country-house character, while polished stone produces a more formal appearance but requires careful review of the product’s floor-use and slip-resistance information.
Natural stone is not maintenance-free. Porosity, hardness, stain resistance, and sensitivity to acidic liquids vary by stone type. Wine, lemon juice, vinegar, and some kitchen cleaners may affect certain stones. Use a suitable penetrating sealer when recommended, clean with a pH-neutral stone cleaner, and confirm maintenance requirements for the exact product.
When combining two stone colors, verify that both tiles have compatible dimensions, thicknesses, edges, finishes, and intended applications. Two tiles described as the same nominal size may not be identical if they come from unrelated collections.
Glass Mosaic Checkerboard Kitchen Tiles
Glass mosaic creates a smaller, more intricate checkerboard with clear color and subtle light movement. It works especially well in compact kitchens, creative interiors, and designs that need a lighter visual scale than large stone squares.
Small mosaic pieces create more grout joints, adding texture and definition to the surface. However, additional grout does not automatically make every glass mosaic suitable or slip-resistant enough for a kitchen floor. Many smooth or glossy glass tiles are designed for walls only.
Before purchasing, confirm that the exact glass mosaic is:
-
Rated or manufacturer-approved for floor installation
-
Appropriate for the expected kitchen traffic
-
Suitable for the anticipated dry or wet interior conditions
-
Compatible with the recommended adhesive and grout
-
Able to withstand cleaning products used in the space
Floor-rated matte or lightly textured glass is generally more practical than a highly polished, wall-only glass tile. If you are unsure, send your application details to Woos Tiles before ordering.
Checkerboard Tile Shapes
The checkerboard concept is no longer limited to equal square tiles. Woos Tiles offers geometric formats that allow designers to reinterpret the pattern while preserving its alternating rhythm.
Square Checkerboard Tiles
Square tiles create the most recognizable checkerboard floor. Their balanced proportions suit nearly every kitchen size and make the alternating sequence easy to understand.
Choose square checkerboard tiles for:
-
Classic black and white kitchens
-
Modern minimalist interiors
-
Farmhouse and cottage kitchens
-
Vintage and Art Deco designs
-
Open-plan kitchens requiring a strong visual anchor
A straight square grid feels structured and contemporary. Rotating the same grid 45 degrees creates a diamond-style checkerboard with more visual movement.
Rectangular Checkerboard Tiles
Rectangular tiles give the pattern an elongated, architectural quality. Their direction can visually pull the eye across a narrow kitchen or emphasize the length of an island.
They are especially effective in:
-
Galley kitchens
-
Narrow or compact floor plans
-
Contemporary and mid-century interiors
-
Kitchens with long islands or linear cabinets
Rectangles may be installed in an aligned alternating grid, grouped into larger blocks, or combined in a custom orientation. Approve a layout drawing before installation so the color sequence and tile direction remain consistent.
Triangular Checkerboard Tiles
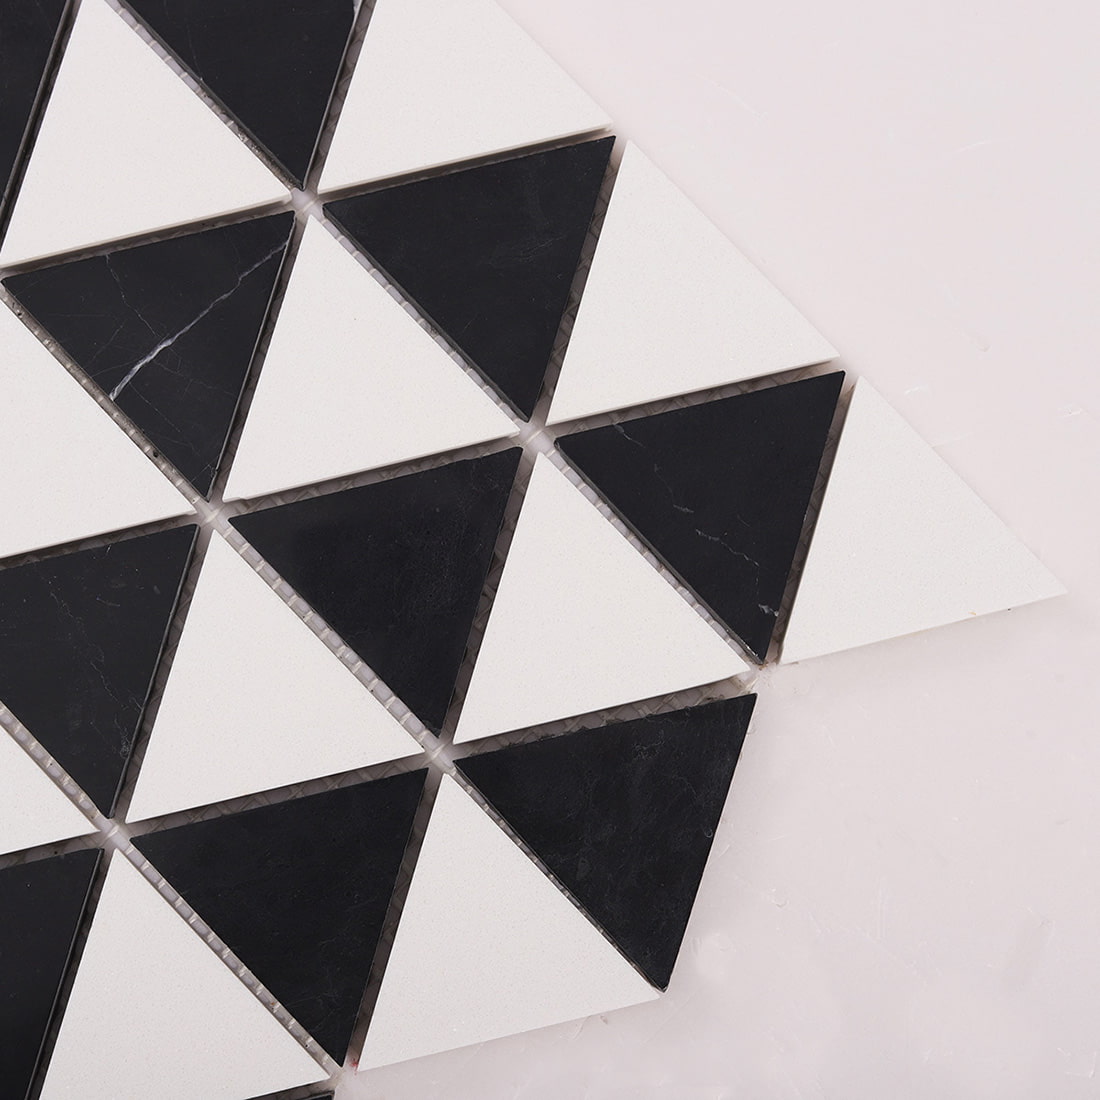
Triangular tiles introduce a more artistic interpretation. Two or more triangles can form larger squares, diamonds, or directional geometric units, producing a layered pattern without using raised surfaces.
Triangular checkerboard mosaics work well for:
-
Custom kitchen floor features
-
Areas around a kitchen island
-
Pantry or entry transitions
-
Small dining zones
-
Boutique cafés and creative commercial interiors
The completed floor should remain flat and continuous. Triangle points, center joins, grout spacing, and sheet alignment require careful installation to prevent the design from appearing distorted.
Choosing the Right Color Combination
Color determines whether the floor feels dramatic, calm, traditional, or playful.
Black and White
A black and white checkerboard floor delivers the strongest contrast. It works with white cabinets, black accents, stainless steel appliances, natural wood, and simple marble surfaces.
Use warm white instead of stark white when you want a softer transition into cream walls or wood cabinetry.
Gray and White
Gray and white preserve the classic structure while reducing contrast. This combination suits contemporary, Scandinavian, transitional, and light-industrial kitchens.
Soft gray grout can connect the two colors and make the floor feel less graphic.
Beige, Cream and Taupe
Warm neutral checkerboard tiles create a quiet, comfortable floor that works particularly well with oak, walnut, rattan, brass, and creamy painted cabinets.
This palette is suitable for organic modern, Mediterranean, farmhouse, Japandi, and understated luxury interiors.
Green and Cream
Deep green or sage paired with cream brings color into the kitchen without losing the order of a traditional checkerboard. It complements wood cabinets, aged brass, warm white walls, and natural stone countertops.
Terracotta, Brown and Ivory
Earth-tone pairings provide a rustic, vintage, or Mediterranean character. They are effective in kitchens with exposed wood, handmade-look wall tile, plaster finishes, or traditional cabinetry.
Tone-on-Tone Checkerboard
Two related shades—such as ivory and beige or pale gray and charcoal—create a subtle pattern that becomes more visible as the light changes. This is a useful option when the kitchen already contains a bold backsplash or strongly veined countertop.
| Kitchen Feature | Recommended Checkerboard Pairing |
|---|---|
| White Cabinets | Black and white, green and cream, gray and white |
| Natural Oak Cabinets | Beige and cream, terracotta and ivory, soft green and white |
| Walnut Cabinets | Warm white and taupe, cream and brown |
| Black Cabinets | White and gray, cream and beige, muted stone combinations |
| Colorful Cabinets | A quieter neutral checkerboard drawn from the cabinet undertone |
| Strongly Veined Countertop | Low-contrast or small-scale checkerboard |
| Plain Countertop | Higher contrast or a more expressive geometric pattern |
Always compare physical samples beside the cabinets, countertop, wall color, and backsplash. Online colors can vary between screens, and natural stone may differ from one production lot to another.
Selecting Tile Size and Pattern Scale
Tile size changes how frequently the color alternates across the room.
-
Small mosaics: Create fine detail, more grout lines, and a vintage or handcrafted appearance. They suit compact kitchens and decorative floor zones.
-
Medium formats: Balance pattern and open floor space. They are versatile for typical residential kitchens.
-
Large formats: Produce a bold, architectural grid with fewer grout joints. They generally work best where enough floor remains visible around cabinets and islands.
Do not select size based on room area alone. Consider how much of the floor will remain visible after cabinetry, appliances, and the island are installed. A large tile can lose its intended checkerboard rhythm if only a few partial pieces are visible.
For triangular and rectangular products, evaluate the size of the complete repeating unit rather than only the dimensions of one tile.
Straight or Diagonal Checkerboard Layout?
Straight Layout
A straight layout keeps the tile edges parallel to the walls.
Advantages:
-
Clean, orderly appearance
-
Easier alignment with cabinets and islands
-
Fewer perimeter cuts
-
Usually lower material waste
-
Suitable for modern and traditional kitchens
Straight layouts work particularly well in square rooms, open kitchens, and interiors with strong architectural lines.
Diagonal Layout
A diagonal checkerboard rotates the pattern 45 degrees so the square tiles appear as diamonds.
Advantages:
-
Creates a stronger sense of movement
-
Can visually widen a narrow kitchen
-
Helps reduce the emphasis on walls that are not perfectly square
-
Gives classic stone floors a more formal appearance
Diagonal layouts require more angled cuts and generally create more waste. Review the edge cuts at cabinets, doorways, and transitions before installation.
Framed Checkerboard Layout
A solid-color border can frame the checkerboard field and create a more intentional transition at walls or adjoining rooms. It is also useful when the full pattern does not divide evenly across the floor.
The border dimensions should be included in the layout drawing before tile quantities are calculated.
How Much Checkerboard Tile Should You Order?
Measure the length and width of each floor section and multiply them to calculate the area. Add separate rectangles together if the kitchen has an irregular shape.
For an equal two-color checkerboard:
-
Calculate the complete floor area.
-
Add the appropriate cutting and waste allowance.
-
Divide the adjusted total approximately equally between the two colors.
-
Confirm the number of full boxes or sheets required for each component.
As a general planning range:
-
Allow approximately 10–15% extra for a straight layout.
-
Allow approximately 15–20% extra for a diagonal layout or a room with many cuts.
-
Increase the allowance for highly variable natural stone, complicated borders, or future repairs.
For example, a 120-square-foot straight floor with a 10% allowance requires approximately 132 square feet in total—about 66 square feet of each color when the design uses an equal alternating pattern.
Final quantities should be confirmed by the installer. Order both colors at the same time and retain several spare pieces after installation.
What to Check Before Ordering
A successful checkerboard floor depends on compatibility, not color alone.
Confirm the following for both tile components:
-
Exact dimensions rather than nominal size
-
Tile thickness
-
Edge profile
-
Surface finish
-
Floor-use approval
-
Expected shade and texture variation
-
Recommended grout-joint width
-
Adhesive and grout compatibility
-
Cleaning and sealing requirements
-
Residential or commercial traffic suitability
-
Product-use or slip-resistance information
For kitchens where water, grease, or food spills are likely, request a surface classification appropriate for the actual conditions. No hard flooring should be described as completely slip-proof.
Professional Layout and Installation
High-contrast checkerboard patterns reveal small alignment errors quickly. Professional installation is recommended, particularly for natural stone, glass mosaic, triangular designs, and diagonal layouts.
Inspect and Dry Lay the Tile
Open several boxes or sheets and review the full range of color and veining. Blend natural stone pieces from different boxes instead of installing one box at a time.
Dry lay several rows to check:
-
The alternating color sequence
-
Alignment from the main doorway
-
Cuts around cabinets and islands
-
Tile-size consistency
-
Grout-joint width
-
The position of triangle or rectangular repeats
-
Transitions into adjoining floors
Correct awkward sliver cuts by adjusting the starting point before adhesive is applied.
Prepare the Subfloor
The substrate must be clean, stable, flat, and suitable for tile. Movement, unevenness, or insufficient support can lead to cracked grout, lippage, or tile failure.
The installer should address substrate preparation, movement joints, waterproofing where required, and transitions to adjacent flooring according to the project conditions and applicable installation standards.
Use the Correct Adhesive
Light natural stone and translucent glass may require a white setting material to prevent discoloration or show-through. Glass mosaic needs an adhesive approved for glass tile, while moisture-sensitive stone may require a specific setting system.
Follow the tile, adhesive, and grout manufacturers’ instructions rather than choosing materials by color alone.
Choosing Grout Color
Grout changes both the appearance and maintenance of a checkerboard floor.
-
Soft gray: Practical for black and white, gray and white, and many glass mosaics. It defines the pieces without creating a third strong color.
-
Warm beige: Complements cream, taupe, brown, terracotta, and warm natural stone.
-
White or off-white: Creates a crisp or traditional appearance but may show kitchen staining more easily.
-
Medium neutral: Softens a high-contrast design and is often easier to maintain visually.
-
Dark grout: Produces strong definition but should be tested carefully because dark pigments may affect some light or porous stones.
Use an appropriate stain-resistant grout and confirm whether sealing is recommended. Always test the grout color on actual tile because it can appear different after curing and under kitchen lighting.
Cleaning and Maintaining the Floor
Natural Stone
-
Sweep or vacuum loose grit before mopping.
-
Use a pH-neutral cleaner formulated for natural stone.
-
Wipe up oil, wine, citrus juice, vinegar, and tomato-based spills promptly.
-
Avoid acidic, strongly alkaline, abrasive, or vinegar-based cleaners.
-
Reseal only as required by the stone and sealer manufacturer; the interval depends on the material, finish, traffic, and cleaning routine.
Glass Mosaic
-
Use a soft mop with a mild, nonabrasive cleaner.
-
Avoid abrasive pads that could mark the surface.
-
Clean grout joints with a soft brush when necessary.
-
Replace damaged grout or sealant before moisture reaches the setting bed.
Everyday Kitchen Care
Use felt or protective pads beneath movable furniture and clean gritty debris that could scratch the finish. Place a washable mat near the sink if frequent splashing occurs, but avoid mats with backings that may discolor sensitive stone.
Is a Checkerboard Floor Right for Your Kitchen?
A checkerboard kitchen floor is a strong choice when you want a recognizable pattern that can be adapted to your home rather than tied to one decorating trend. It can feel graphic and modern in black and white, soft and natural in cream and beige, or artistic when made with glass mosaic and triangular pieces.
Before ordering, prioritize the technical requirements of the floor:
-
Choose a product approved for the intended application.
-
Match both tile components for size and thickness.
-
Select a finish appropriate for kitchen traffic and possible spills.
-
View physical samples in the room.
-
Approve the layout before installation.
-
Order adequate material from the same production lot.
Frequently Asked Questions
Is a checkerboard tile kitchen floor still in style?
Yes. The pattern is continually reinterpreted through softer colors, natural materials, smaller mosaics, rectangular proportions, and triangular layouts. Black and white remains classic, but it is no longer the only option.
What is the best material for a checkerboard kitchen floor?
The best material depends on the desired appearance and maintenance level. Natural stone offers genuine texture and variation, while floor-rated glass mosaic provides clear color and fine geometric detail. The exact product must be approved for floor use.
Can glass mosaic be installed on a kitchen floor?
Only glass mosaic specifically rated or manufacturer-approved for flooring should be used. Many glossy glass mosaics are wall-only products. Verify traffic, finish, slip-resistance, adhesive, and grout requirements before purchase.
Is natural stone practical in a kitchen?
Natural stone can perform well when the correct stone, finish, sealer, installation system, and cleaning products are used. Because stone properties vary, review the technical and maintenance information for the specific product.
Will black and white checkerboard tile make a small kitchen look smaller?
Not necessarily. Tile scale, visible floor area, cabinet color, lighting, and layout direction all affect the result. Smaller or medium tiles and a diagonal layout can add movement, while warm white rather than bright white can reduce harsh contrast.
Is straight or diagonal checkerboard tile better?
A straight grid is orderly, easier to align, and usually produces less waste. A diagonal pattern is more dynamic and may visually expand a narrow room, but it requires additional cutting and planning.
What grout color works with black and white checkerboard tile?
Soft gray is a versatile option because it connects the two colors without competing with the pattern. White creates a sharper look, while a medium gray is more forgiving in a busy kitchen. Test grout samples before installation.
How much extra tile should I order?
Plan for roughly 10–15% extra for a straight layout and 15–20% for diagonal or cut-intensive installations. Natural variation, borders, unusual room shapes, and future repairs may require additional material.
Can I combine two tiles from different collections?
Only when the exact dimensions, thickness, edge, finish, grout requirements, and floor-use ratings are compatible. Nominally identical tiles may have real dimensional differences, so confirm compatibility before ordering.
What tile size is best for a small kitchen?
Small or medium formats usually preserve enough pattern repeats in a compact visible area. The best choice depends on the amount of floor remaining visible after cabinets and appliances are installed.
Can checkerboard tile be used with underfloor heating?
Many tile floors can be installed over compatible underfloor heating systems, but the tile, substrate, adhesive, grout, movement-joint design, and heating system must all be approved for the application.
Is checkerboard tile suitable for commercial kitchens?
Only products specifically rated for the expected commercial traffic, contaminants, cleaning system, and slip conditions should be considered. A decorative residential floor rating is not automatically suitable for a professional food-preparation area.
Create Your Checkerboard Kitchen Floor with Woos Tiles
From classic black and white natural stone to soft neutral mosaics and geometric triangular patterns, Woos Tiles offers checkerboard designs for kitchens that need both visual identity and practical performance.
Compare samples, confirm the floor-use specifications, and share your room dimensions, preferred colors, shape, and layout with Woos Tiles. Our team can help you identify suitable products and prepare the correct quantity for your project.
Explore the collection or order samples to begin your checkerboard tile kitchen floor project.